 PolyZamboni
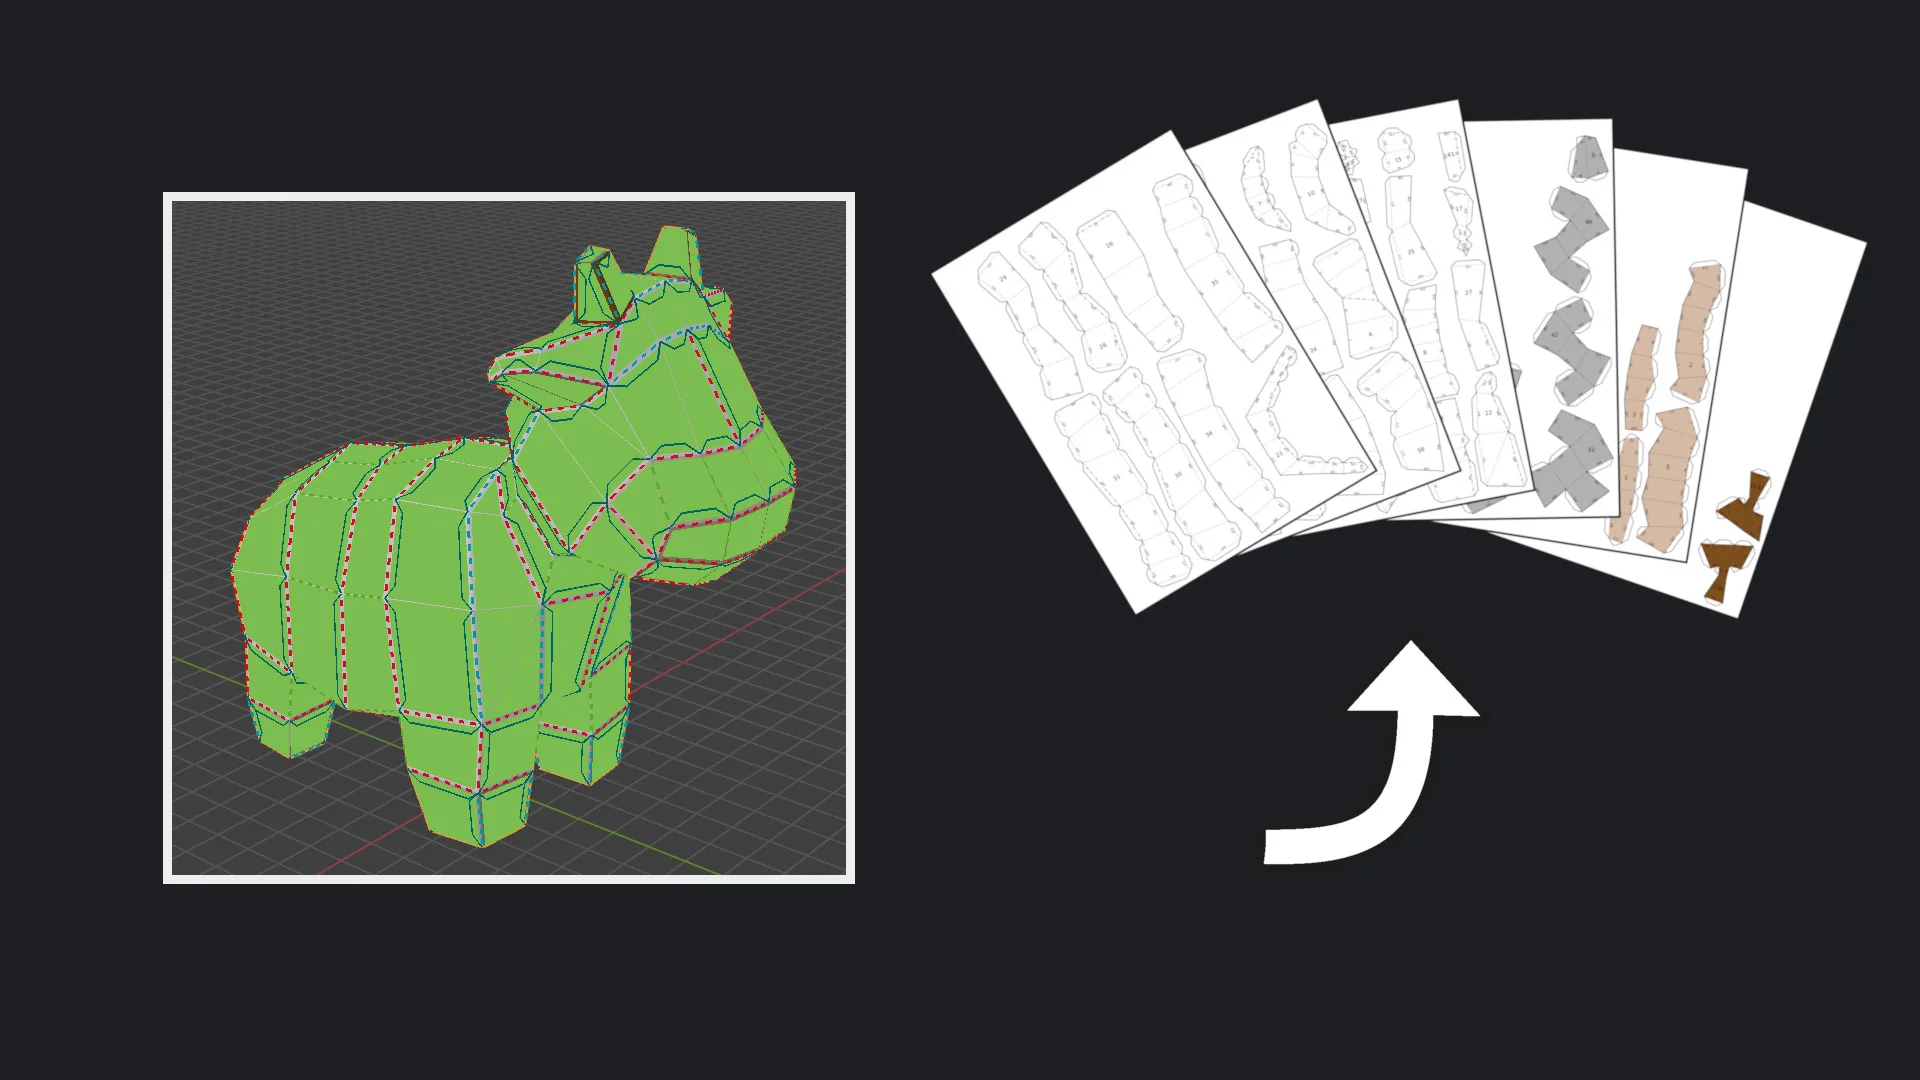
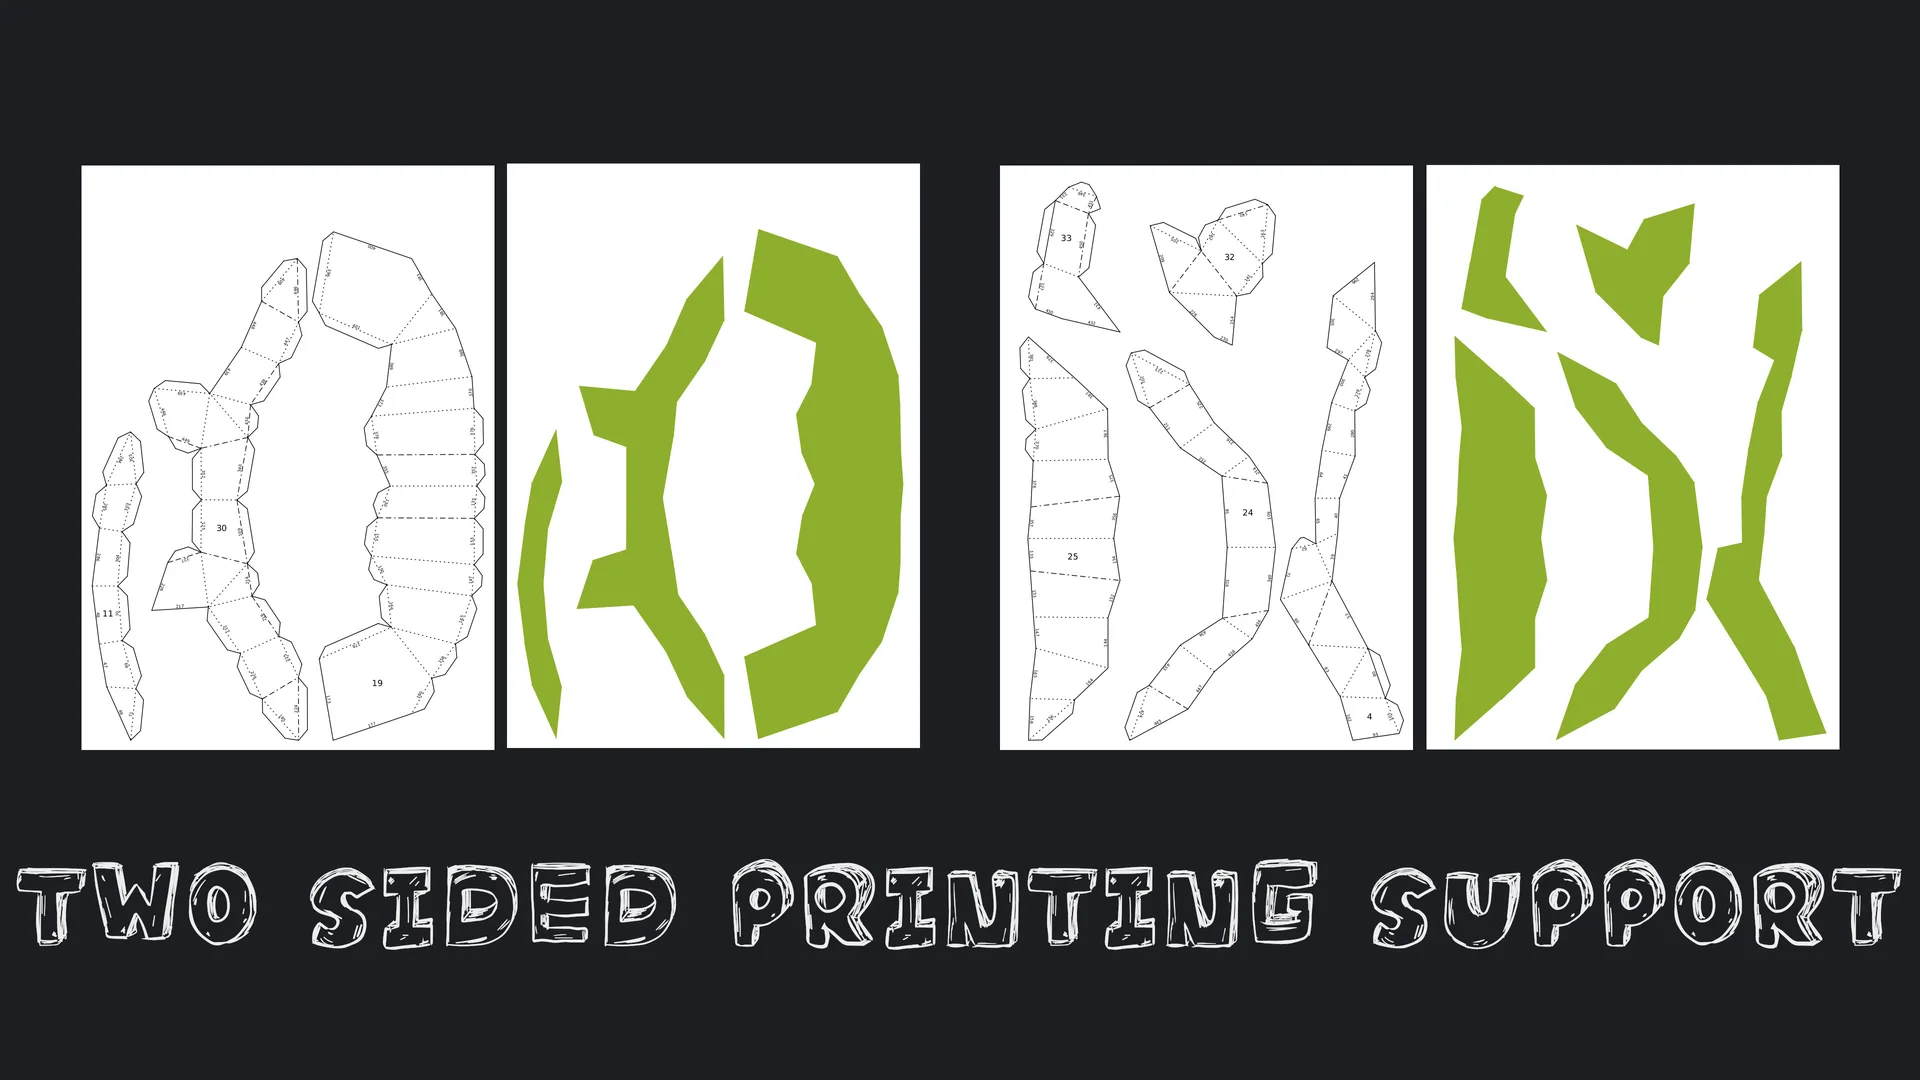
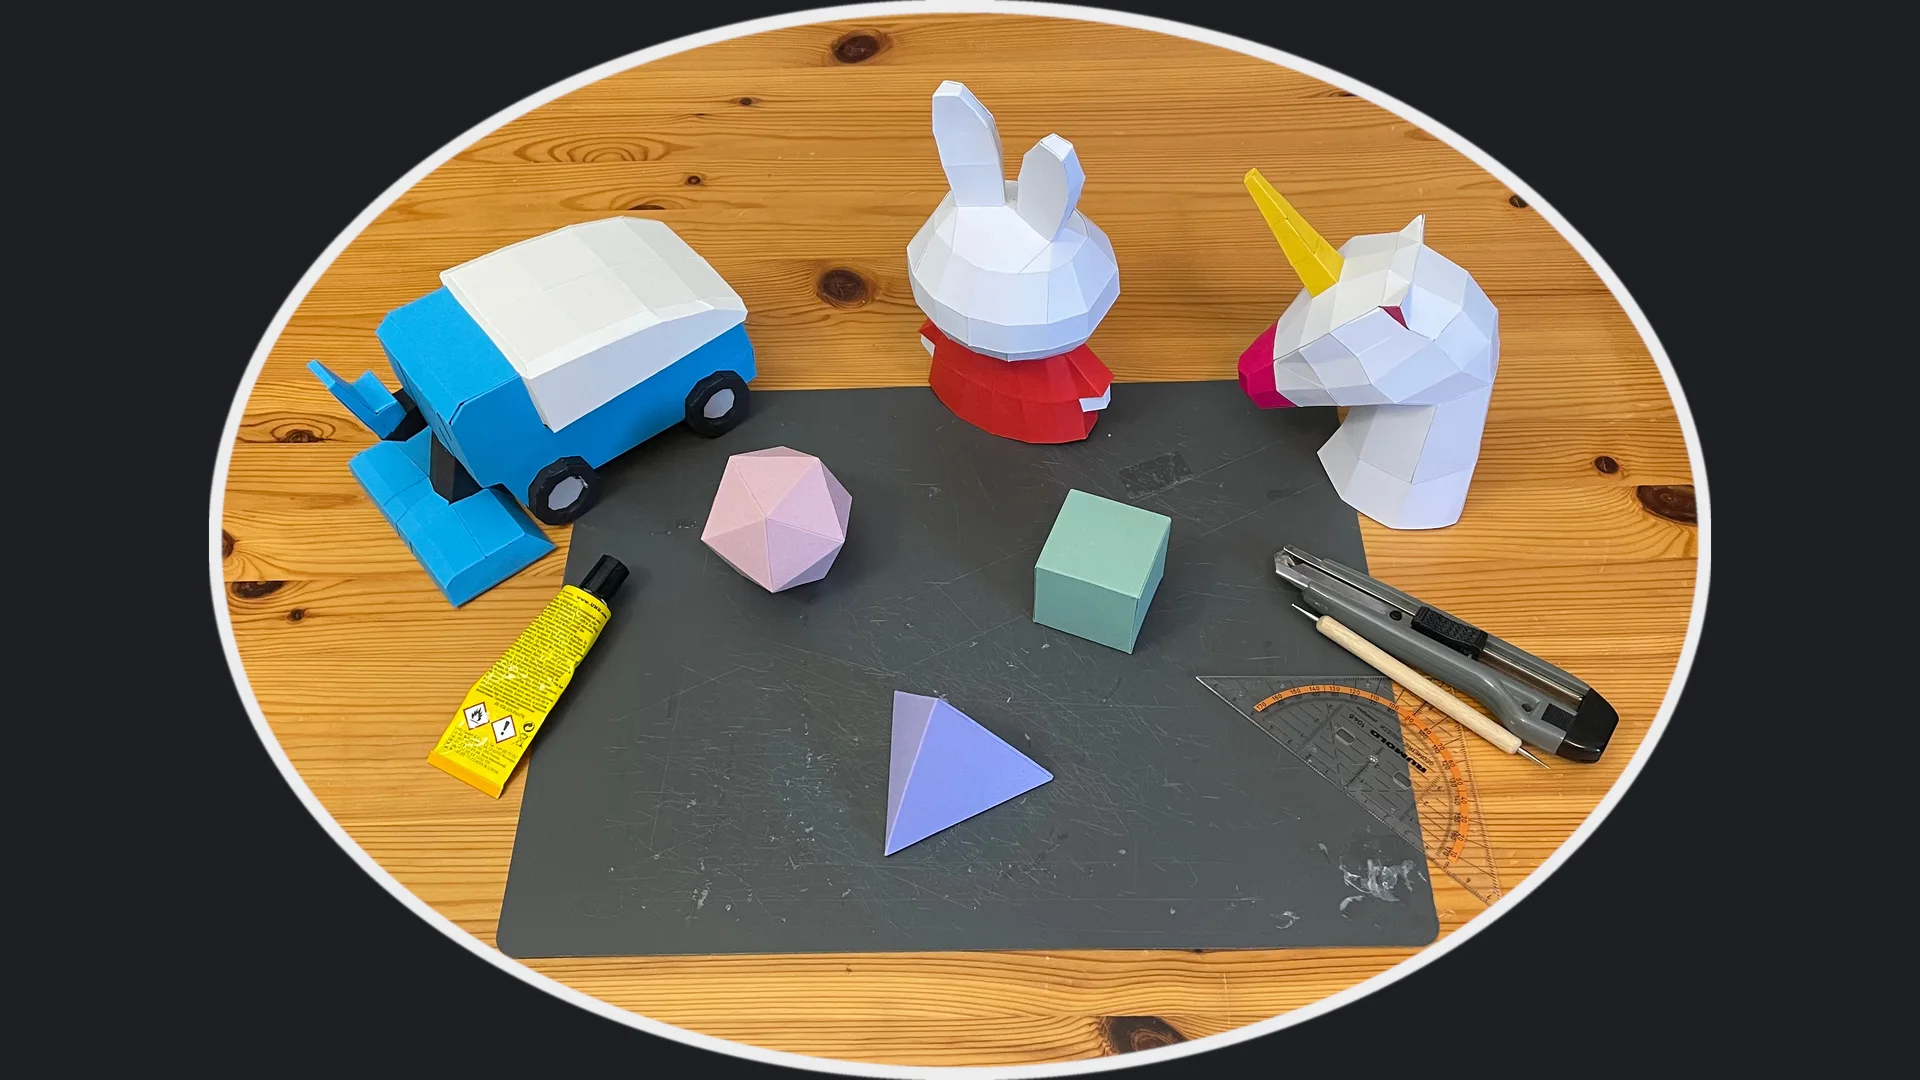
Turn your low-poly creations into papercraft instructions with this Blender addon.
You no longer need any additional software or good faith in some automatic unfolding algorithm. PolyZamboni provides you with all tools necessary to create high quality paper models!





Usage
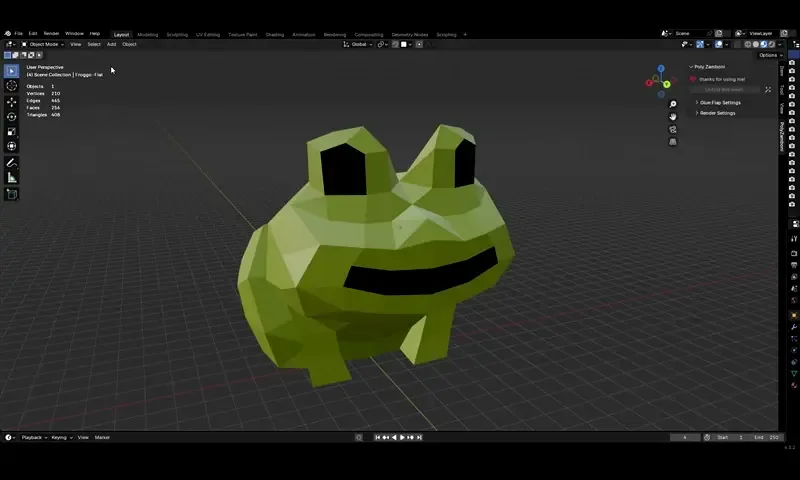
With the addon enabled, select any mesh object and navigate to the PolyZamboni panel in the viewport sidebar (toggle with 'N') and click on the Unfold this mesh button. This starts the unfolding process of the selected mesh with no initial cuts.
Not all meshes can be processed by PolyZamboni. The following things prevent this addon from working for your mesh:
- Non-manifold vertices or edges
- Faces that touch at more than one edge
- Faces that can not be triangulated via PolyZambonis custom triangulation angorithm
- Faces that are highly non-planar
You will get a warning whenever one of these fail-cases occur and the option to select all faces that need to be fixed.
Interactive paper model editing
To transform your 3D model into printable mesh pieces that can be glued together to create an awesome paper model, you have to define where the mesh should be cut open and where to place flaps for glueing. You can edit cuts and glue flaps by entering Edit Mode. Here, you have access to plenty of powerful tools:
Separate Materialsadds cuts between all faces that have different materials assigned to them.Auto Unfoldautomatically adds cuts until the entire mesh can be unfolded. The algorithm tries to create loops of connected faces. You can choose whether these loops should wrap around theX,YorZaxis. You can also give a maximum number of connected faces.Remove Auto Cutsremoves all automatically added cuts. In case you are not happy with the results of the previously listed operation.Recompute Flapsplaces glue flaps at all cut edges. The greedy algorithm tries to avoid overlaps of the printed pieces. There is also a toggle next to the button that lets you decide whether flaps should alternate along patch boundaries.Alt+Copens the manual cuts pie menu. Here you can cut, clear or glue all selected edges. Glued edges can not be cut by theAuto Unfoldoperator and have no other purpose. You can also select multiple faces and mark them as one connected region via theDefine Regionoperator. This automatically cuts all edges between selected and non-selected faces.Alt+Xopens the glue flaps pie menu. Here you can add, remove and flip the glue flaps attached to all selected edges.
Intuitive feedback
PolyZamboni renders feedback on top of your models. Dotted lines on top of mesh edges indicate one of the following:
- Red edges: Manually added cuts
- Green edges: Manually glued edges (can't be automatically cut)
- Blue edges: Atomatically added cuts
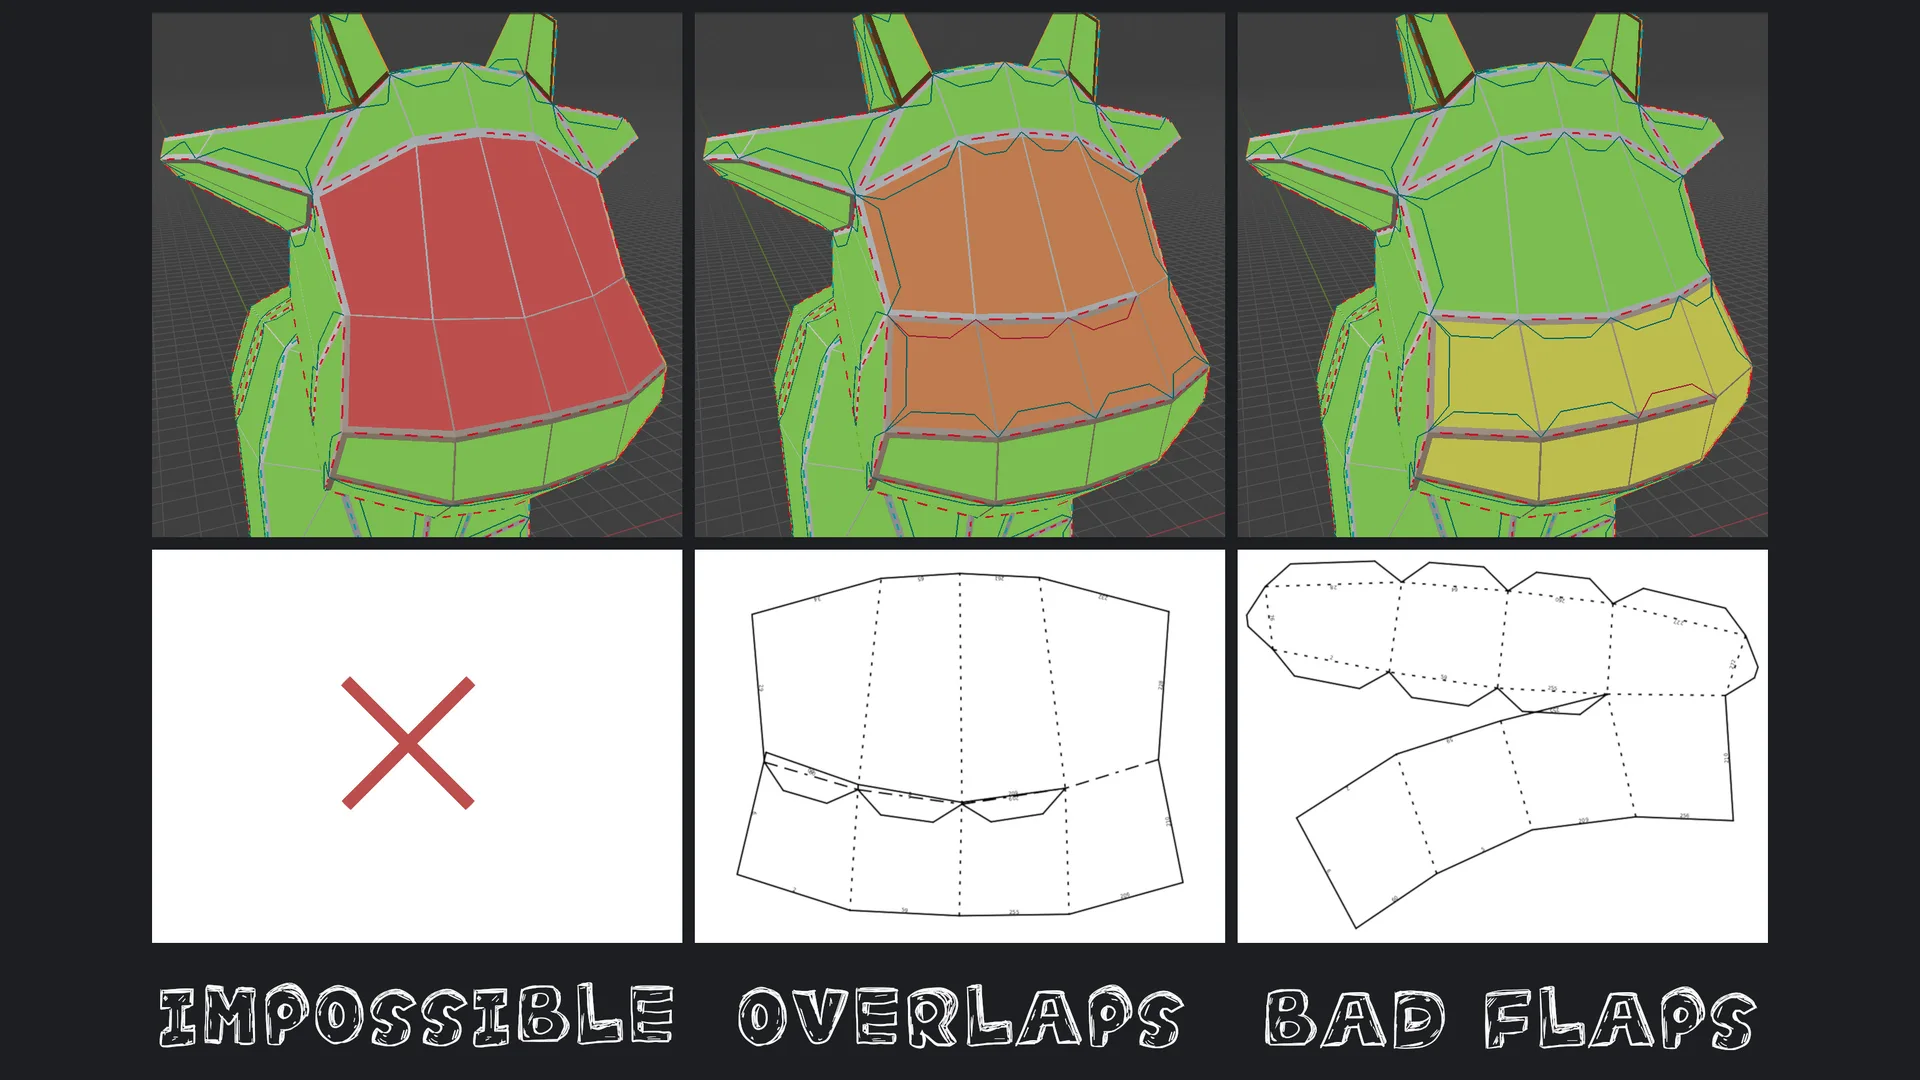
All connected face regions, separated by cut edges, are visualized via colored patches on top of mesh faces. These regions colored based on their quality:
- Red regions: These regions can not be unfolded onto a piece of paper. If any of these regions exist, no paper model can be created.
- Orange regions: Although all faces can be unfolded, they would overlap on the plane. This makes the resulting instructions fairly unusable in practice.
- Yellow regions: Almost perfect regions. Only the flaps used to glue pieces together overlap on the final print.
- Green regions: These regions can be unfolded without any overlaps. If all regions are green, you are usually good to go!
Glue flaps are also visualized on top of faces at the position they will have in the papercraft version of your mesh. If any flap overlaps with something in the instruction, it will be colored red.
Build sections and step numbers
To make the papermodel construction easier, you can partition the papermodel pieces into build sections. For this, go to the Build Sections panel where you can see a list of all build sections and have the following options:
- Create a build section: This creates a build section from all pieces of selected mesh faces.
- Remove the selected build section.
- Change the islands of the selected build section.
- Select all mesh faces that belong to the selected build section.
- Lock and unlock build sections: Normally when adding pieces to a section, the pieces get removed from the sections that previously contained it (a piece can only be in one section at the time). Locking a section prevents this from happening.
- Rename the build sections (directly in the list).
You can also generate build step numbers for each piece, that tell you in which order to put them all together. While in Edit Mode, press the Compute Build Order button. Now all pieces inside a build section of size n will be numbered 1 to n.
In the final instructions, each piece will be printed with its build section name and build step number.
Edit the page layout
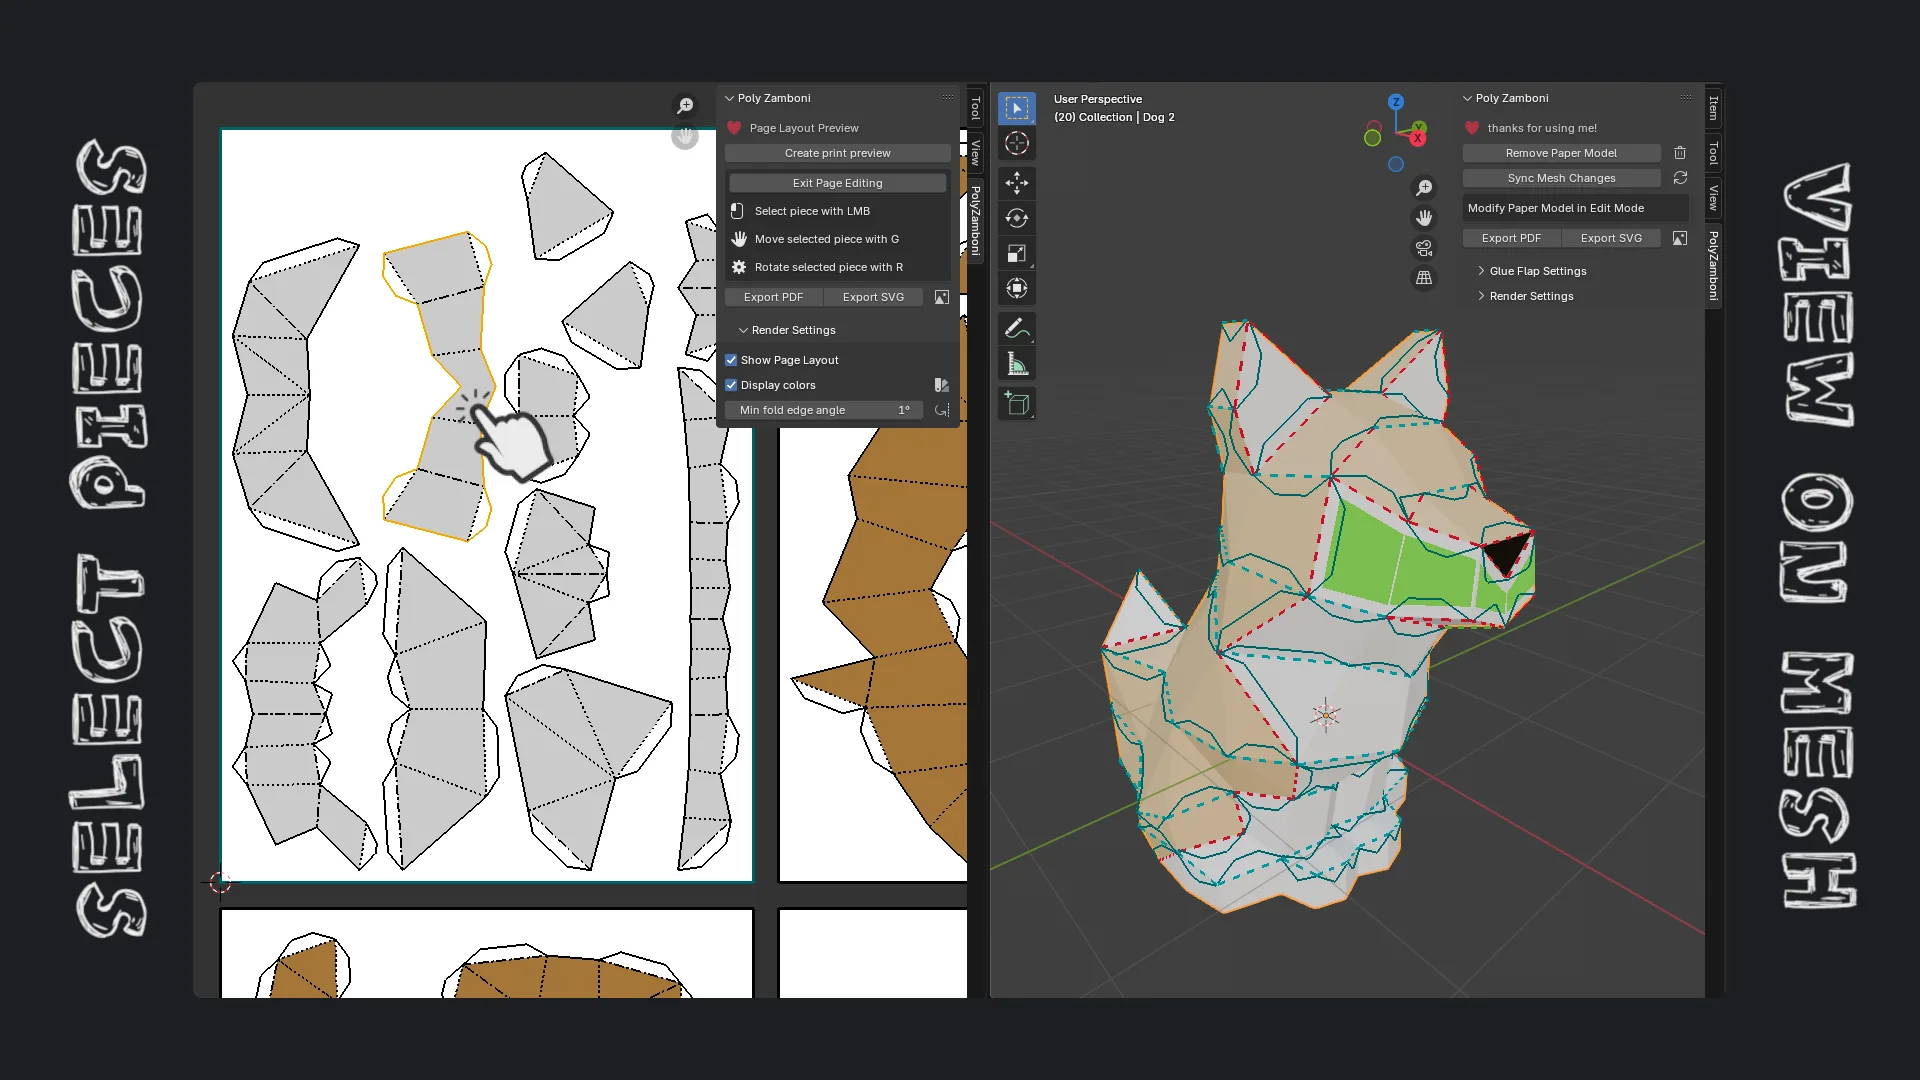
Before exporting the instructions for your model, PolyZamboni allows you to edit the final page layout. For this go to the UV or Image-Editor and open the sidebar. After clicking on Create print review and setting some layout options, a preview of all pages and papermodel pieces should appear on your screen. You can then edit the layout by clicking on Edit page layout. Here you can do the following things:
- Select pieces by left-clicking on them.
- Move a selected piece by pressing
g. Behaves similar to Blender's move operator. - Rotate a selected piece by pressing
r. Behaves similar to Blender's rotate operator. - Change the build step number of a selected piece by pressing
f.
Exporting instruction sheets
Once you are satisfied with your edits, you can export the paper model instruction. Go to File->Export->Polyzamboni Export PDF/SVG or just click in the respective buttons in the side panel. PolyZamboni lets you fully customize the instructions appearance. Here is a list of export options:
- Size of the final model. You can either specify a target model height or directly define the model scale.
- Paper size, page margin and distance between mesh pieces.
- Font sizes and colors.
- Edge appearance (width, color, linestyle, and more...)
- Texturing of mesh faces (nothing, solid color or texture image)
Tip: Model size and margins are measured in the units of the current blender scene. I recommend to set the scenes length unit to something like cm, unless you are planning to create huge models. Change this setting at Scene Properties->Units.
And now: Get creative!
I am thrilled to see what you can create with this addon. Share your cool papercraft creations with me and the world!
What's New
1.3.1 July 14th, 2026
Support for Seams
Whats new:
- Added operators that apply PolyZamboni cuts at edge seams and vice versa. Thanks @shosholanda for the idea!
Bugfixes / Improvements:
- Removed usage of the threading module and made the auto-cuts progress bar smoother in the progress :)
I’ve given your addon a try, and it’s honestly amazing! The features are really intuitive and handy. Everything was running smoothly until I tried exporting a vector file and realized my system memory was completely maxed out.
After some digging, I found out the issue is with the textures. When exporting, each face is assigned its own texture fragment, which puts a huge load on the memory. It’s not really noticeable with low-poly models, but for more complex ones, it definitely causes some lag or errors.
If you could tweak it so that it exports one single large texture sheet per page instead, I think that would solve the problem perfectly! Thank you so much!
This is the case where the origin is optional, but there is a small problem, it is not a continuous problem, and the image 1, 5, 7, 8, 9... is jumping.