 Render Overscan
About extension
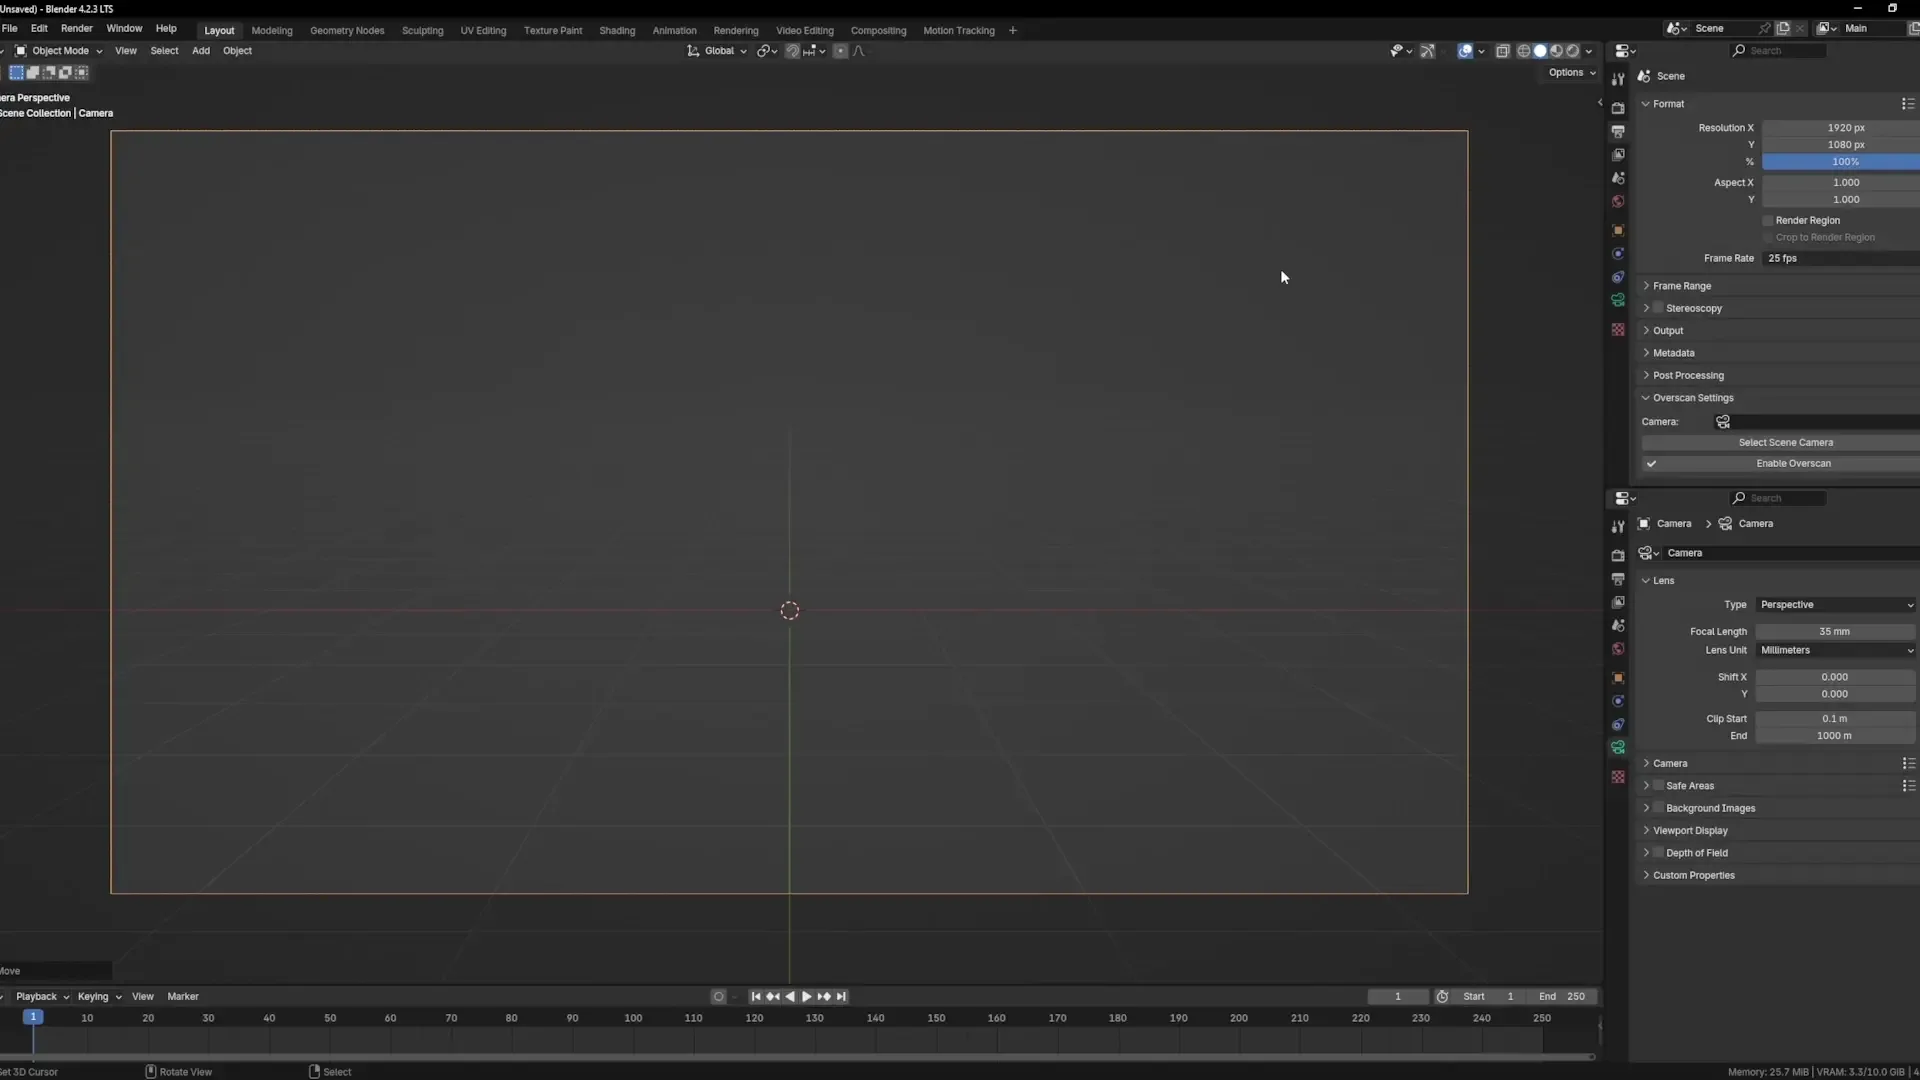
Extension adds overscan support to Blender. The add-on controls are located in the Properties editor under Output Properties. First, you need to have a camera in the scene. If there’s only one camera, you can simply press the "Select Scene Camera" button. If there are multiple cameras, you can manually select the desired one. Then, set the desired overscan value in pixels and press the toggle button "Enable Overscan." When overscan is enabled, you will see a warning text in the viewport.
How to use overscanned images.
You've rendered your overscanned image, right? What's next? Load it into your favorite compositor. I’ll explain using the Nuke/Natron workflow as an example. First, add a Reformat node right after the Read node that loads your image. Then, select your source (pre-overscan) resolution, set the transform type to None, and check the box Preserve Bounding Box. Now you have an image in the source resolution with overscan data around it.
What's New
0.1.14 November 2nd, 2024
Changed Overscan panel location to be part of resolution settings.
Nice addon! I would just suggest adding a feature that allows the user to set the overscan as a percentage, because that's how I usually calculate my overscan, not in pixels. Or it would be really nice if you could enable the overscan and then set the overscan percent using the output resolution percentage that's already listed in Blender and have the camera's focal length update dynamically. I would also recommend changing the order of the "Overscan Size" setting to right above the "Enable/Disable Overscan" button. This to me would be a little more intuitive... First, I choose my camera, then I choose the overscan size, then I enable it. Thanks for your work on this!
Thank you for this very useful addon.
There seems to be a small bug in Render Overscan: It installs correctly when installed , but doesn't show up in Properties > Output in my Blender configuration, probably due to a leftover string from previous work, overlooked for deletion in init.py line 27.
Temporary workaround for users experiencing the same issue:
Default path Windows: c:\users\username\AppData\Roaming\Blender Foundation\Blender\4.2\extensions\user_default(install from disk) or blender_org(online installation)\render_overscan\
Default Path Linux: home/username/.config/Blender/4.2/extensions/blender_org (online installation) or user_default (install from disk)/render_overscan
Open the init.py file with a text editor, comment out the line 27 (bl_parent_id = 'RENDER_PT_format') adding a hash (#) at the beginning, so that it looks like: #bl_parent_id = 'RENDER_PT_format'
Save and close the init.py file and restart Blender.
The Panel for the addon "Render Overscan" should then appear in Properties > Output, under the name "Overscan Settings".
Technically this works, but I would recommend another addon called "Overscan Render" after trying both the other allows you to easily revert to your original camera settings, uses a percentage slider rather than pixels, and automatically protects the aspect reatio and size of your cameras background images when you add overscan making it easier to use.