More Colors!
A set of tools to make vertex painting easier.
🖌️ More Colors!
A simple add-on that makes working with vertex colors easier.
✨ Features
- 👁️ Preview vertex colors (including alpha!) from object and edit modes
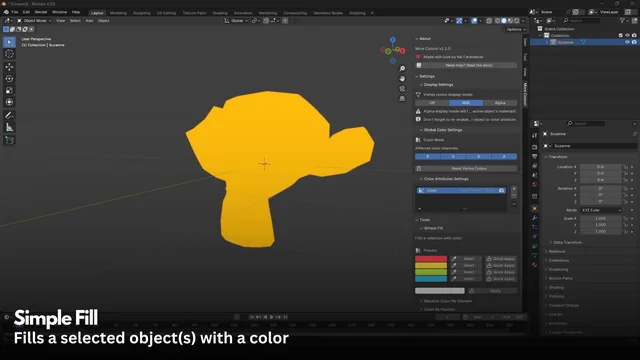
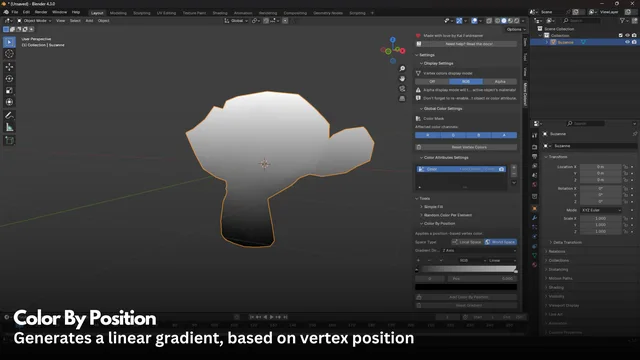
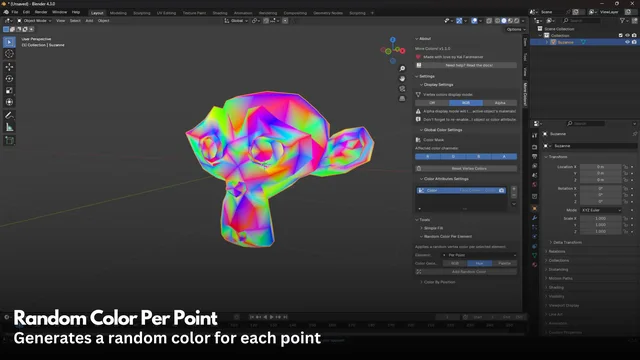
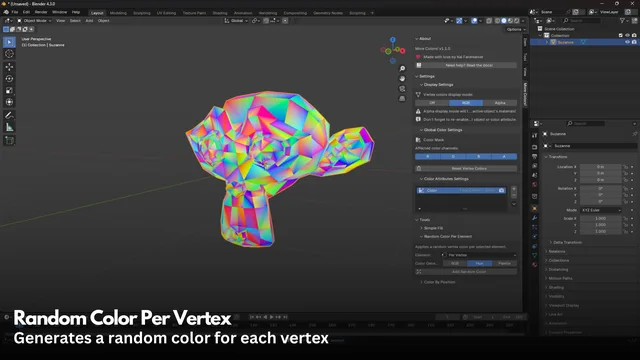
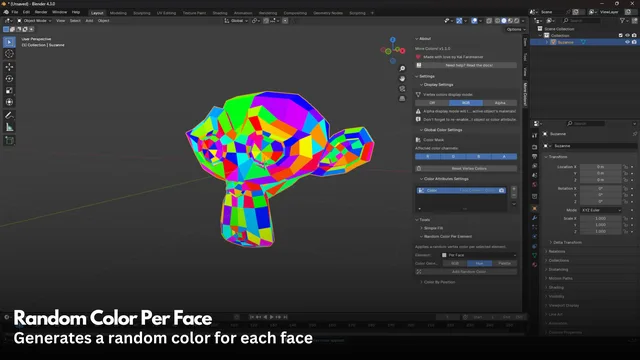
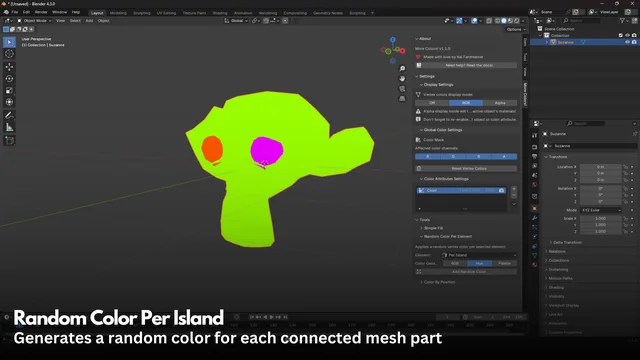
- 🖌️ Various tools, including simple selection fill, random color generator, and a gradient generator
- 🎨 Supports editing different color attributes
- 🎭 RGBA color masking, modify only the channels you need
🚀 Getting Started
After installing the add-on, you can see it on the side panel (press N to open it).
📒 Documentation
If you're stuck or new to the add-on, feel free to read detailed documentation on GitHub: https://github.com/tojynick/More-Colors
What's New
1.1.0 December 2nd, 2024
- Added the ability to view the alpha channel of vertex colors
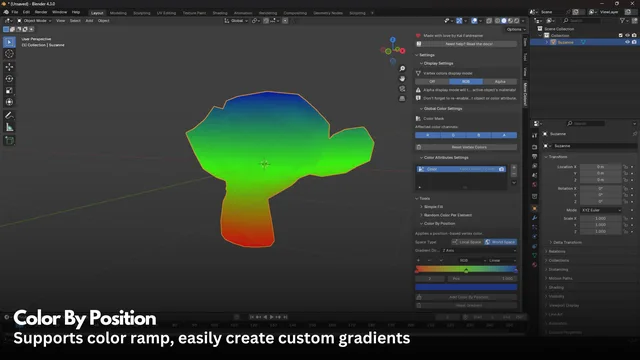
- Added a color ramp to the Color By Position tool, you can use custom gradients now
- All the tools now support working with different color attributes
- Added a "Palette" random color generation mode. It allows you to define a palette of 4 colors and use only these colors for the generation
This is an excellent plugin, particularly the gradient fill feature which is very user-friendly. It would be even better if it could include a Color Ramp-like functionality for color adjustment and custom gradients. However, it's already working wonderfully as is. I frequently use this feature when working on plant designs. Fantastic work, thank you for creating this.

I'm really impressed with the plugin and I love it! However, I've noticed a couple of minor issues. First, applying a gradient or specific color to the Alpha channel doesn't seem to work; there are no visible changes. Second, if I try to add a Random Color or Gradient Color without first creating a Color Attribute, Blender freezes. It would be great if an error message could be added in such cases. Despite these issues, it's still an excellent plugin. Thank you for your hard work!